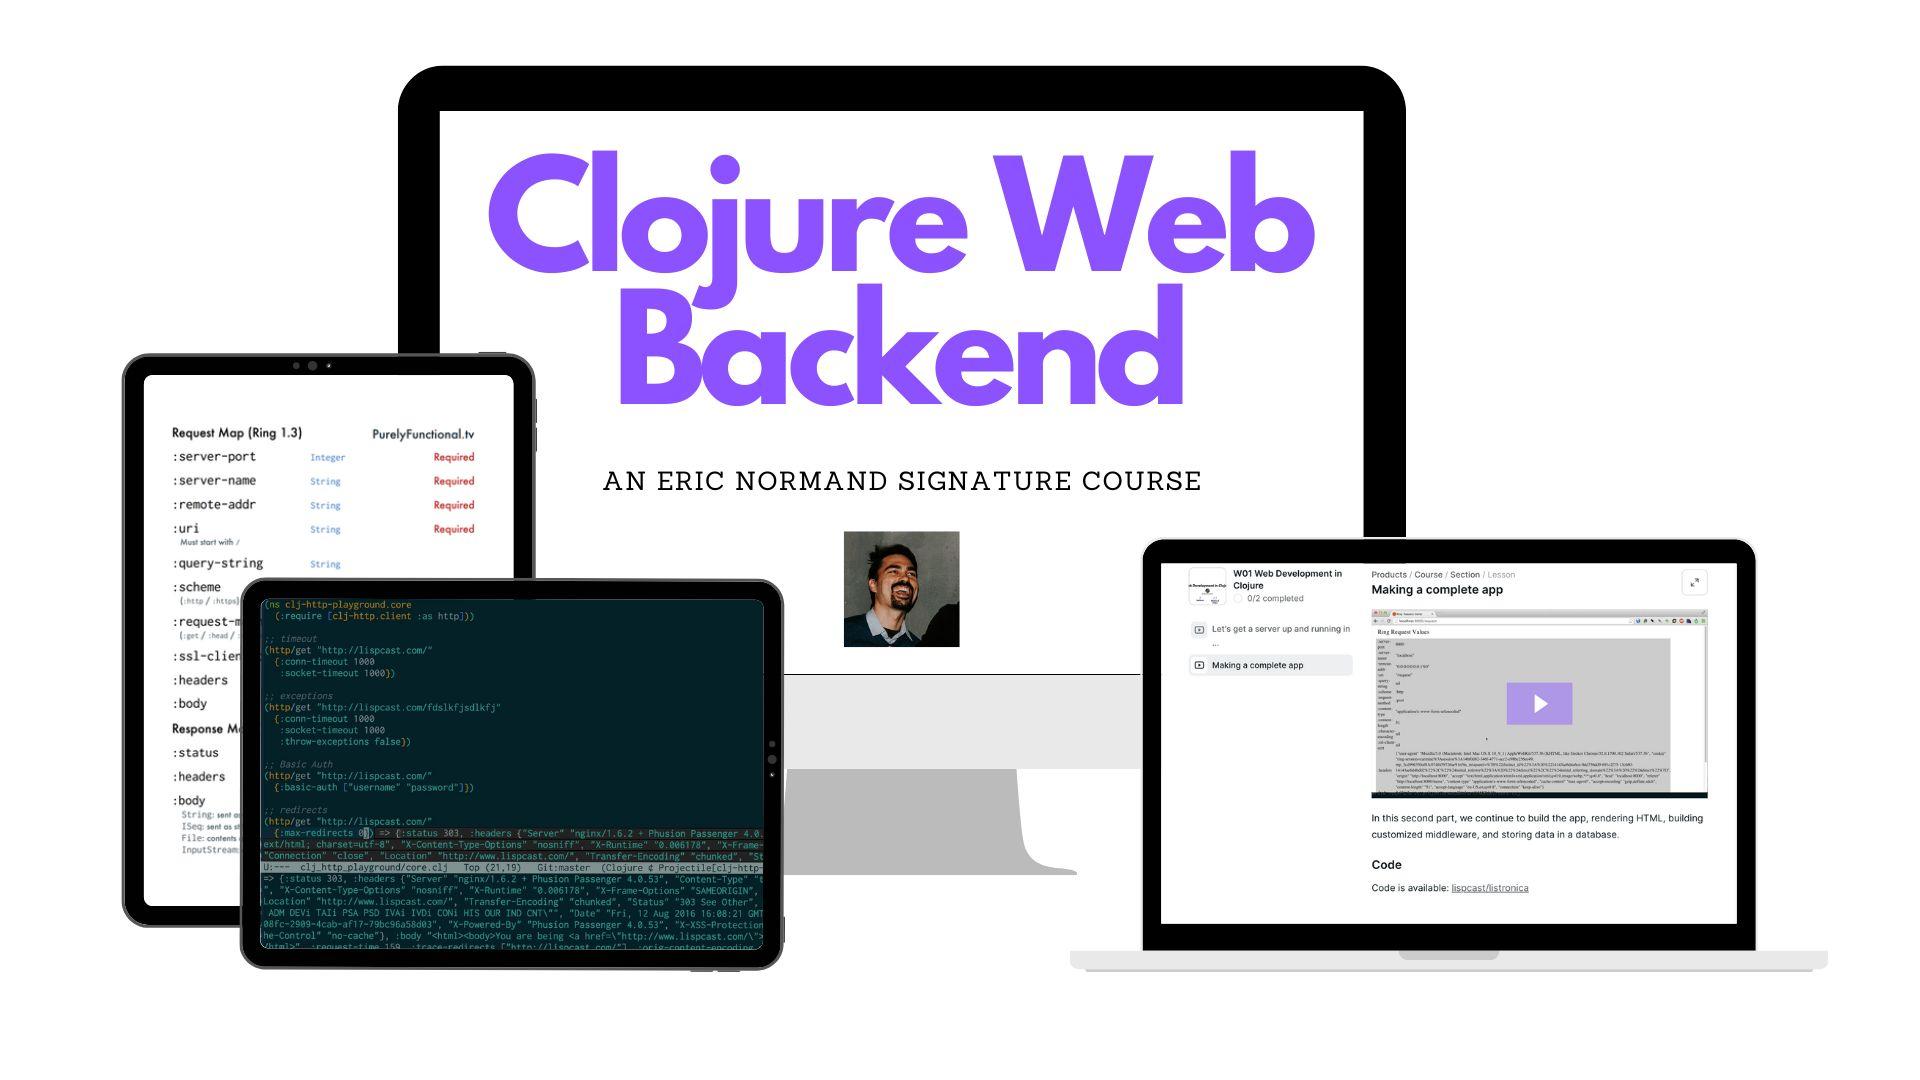
Clojure web requests
Build your backend in Clojure!
Invest in yourself with my Clojure Web Backend Signature Course.
- 2 web backend modules
- 6 detailed lessons
- 1.9 hours of video
Summary: Learn to build a Clojure web backend from existing components, step-by-step.
Here is a diagram of our application:

By the end of this part, you will understand this diagram and be able to build the server.
Before we build it, let's trace through the steps. This is a straightforward request/response setup. The flow starts in the browser, flows across the top, then back along the bottom.
The browser sends an HTTP Request
First, the browser connects to the server and sends it an HTTP request. The HTTP request is a standard text format that all web clients can generate and all web servers can read. The request looks like this:
Example HTTP Request
GET / HTTP/2
Host: ericnormand.me
User-Agent: curl/7.64.1
Accept: */*


This request is minimal. Many requests are bigger and more complicated. This one is nice because it shows all of the parts in a small space.
The three parts of the request are:
- The request line
- The headers
- The body (optional)
Each part is made of other subparts. Let's go over each part in turn.
The request line
The HTTP request line is the first line of the HTTP request.
GET / HTTP/2
Host: ericnormand.me
User-Agent: curl/7.64.1
Accept: */*
It has three pieces of information, separated by a space:
- The request method
- The path
- The HTTP protocol version
HTTP protocol version
Example: HTTP/2
The HTTP protocol version is a detail that we won't cover here. As HTTP has evolved over the years, new versions have been released. Versions are backward- and forward-compatible, so all web clients and web servers, regardless of the versions they use, can still interoperate. It's one aspect that keeps the web running.
Request method
Example: GET
The other parts of the request line are critical. The request method indicates
the type of request that we are doing. GET is a standard request method that
means we want to download a resource such as a web page. Other standard request
methods mean different things. We'll learn about those later. Our first, simple
server pays no attention to the request method and treats all requests the same.
Path
Example: /
The path is the part of the URL after the hostname. It indicates the resource
the request is trying to access. In this request, we request the resource at
/, which is the "homepage" of the site. We could also request any other path,
such as /about or /js/script.js. In the HTTP standard, each path indicates a
different resource.
The headers
While the request line has a limited format, the HTTP headers give you a space for more flexible, key-value data. Each header has a name, followed by a colon, then the value.
GET / HTTP/2
Host: ericnormand.me
User-Agent: curl/7.64.1
Accept: */*
This request has three headers:
Host: ericnormand.meUser-Agent: curl/7.64.1Accept: */*
The first header (Host) is standard. It indicates the hostname from the URL
that was requested. It may seem unnecessary: doesn't the server know its
hostname? Not always. Sometimes, the same server is used for multiple hosts. For
example, your application might give custom domains to each user:
eric.myapp.comsusan.myapp.comcurtis.myapp.comfatoumata.myapp.com
The second header (User-Agent) is also standard. It's added by curl (the
command-line tool I used to generate this request). It's a courtesy to say which
client is making the request.
The third header (Accept) tells the server what kind of data format the client
would like. In this case (*/*), the client has no preference and will accept
any format. This header is part of the content
negotiation process, which
is typically part of handling a request. It lets clients download versions of
the resource in different formats (JSON, XML, HTML, etc.). Our dead-simple
application won't do content negotiation, but we will see it in our real
application in part 2.
Header names are typically capitalized. If they have more than one word, the
words are separated by hyphens instead of spaces, as in User-Agent. Though
they are typically capitalized, the case is not significant. host and Host
indicate the same header.
Here is a list of standard HTTP headers.
The header section ends with a blank line.
The body
The body is the final section. However, it is optional. The body is where the
client can send data to the server. GET requests typically don't have a body
since they request a download, not submit data. We won't deal with request
bodies in this super simple application. But we will have HTTP response bodies,
which are very similar. We'll see them in just a moment.
Using curl
For this tutorial, we will use curl as a web client to issue HTTP requests and examine the HTTP requests and responses. (curl installation instructions). For example, you can send an HTTP request with this curl command:
curl -v https://ericnormand.me
The -v flag tells curl to print verbose output, which includes tons of
information. Among that information are the HTTP request and the HTTP response.
$ curl -v https://ericnormand.me
*   Trying 76.76.21.21...
* TCP_NODELAY set
* Connected to ericnormand.me (76.76.21.21) port 443 (#0)
* ALPN, offering h2
* ALPN, offering http/1.1
* successfully set certificate verify locations:
*   CAfile: /etc/ssl/cert.pem
  CApath: none
* TLSv1.2 (OUT), TLS handshake, Client hello (1):
* TLSv1.2 (IN), TLS handshake, Server hello (2):
* TLSv1.2 (IN), TLS handshake, Certificate (11):
* TLSv1.2 (IN), TLS handshake, Server key exchange (12):
* TLSv1.2 (IN), TLS handshake, Server finished (14):
* TLSv1.2 (OUT), TLS handshake, Client key exchange (16):
* TLSv1.2 (OUT), TLS change cipher, Change cipher spec (1):
* TLSv1.2 (OUT), TLS handshake, Finished (20):
* TLSv1.2 (IN), TLS change cipher, Change cipher spec (1):
* TLSv1.2 (IN), TLS handshake, Finished (20):
* SSL connection using TLSv1.2 / ECDHE-RSA-AES256-GCM-SHA384
* ALPN, server accepted to use h2
* Server certificate:
*  subject: CN=*.ericnormand.me
*  start date: Mar 16 13:01:56 2021 GMT
*  expire date: Jun 14 13:01:56 2021 GMT
*  subjectAltName: host "ericnormand.me" matched cert's "ericnormand.me"
*  issuer: C=US; O=Let's Encrypt; CN=R3
*  SSL certificate verify ok.
* Using HTTP2, server supports multi-use
* Connection state changed (HTTP/2 confirmed)
* Copying HTTP/2 data in stream buffer to connection buffer after upgrade: len=0
* Using Stream ID: 1 (easy handle 0x7fd8ef80ca00)
> GET / HTTP/2
> Host: ericnormand.me
> User-Agent: curl/7.64.1
> Accept: */*
>
* Connection state changed (MAX_CONCURRENT_STREAMS == 128)!
< HTTP/2 200
< date: Thu, 18 Mar 2021 14:53:54 GMT
< content-type: text/html; charset=utf-8
< content-disposition: inline; filename="index"
< cache-control: public, max-age=0, must-revalidate
< content-length: 6755
< access-control-allow-origin: *
< etag: W/"1c40a9d59741120a0b78141aaf49c5c41e27d1faef61c4e785b05187036e970b"
< accept-ranges: bytes
< x-vercel-cache: MISS
< age: 0
< server: Vercel
< x-vercel-id: cle1::qsqqb-1616079234128-f8db242c476c
< strict-transport-security: max-age=63072000
<
<!DOCTYPE html><html><head>...
* Closing connection 0
The verbose output shows a ton of information, including the IP address, the HTTPS handshake, and the protocol version negotiation (figuring out that both client and server support HTTP/2). These may be important for debugging, but usually, they can be ignored. Here are the parts to pay attention to:
- The request - indicated by the
>prefix on each line - The response - indicated by
<on each line
The server parses the request
There are many servers on the Java Virtual Machine. Here are just a few:
- Jetty
- Netty
- Vert.x
- Undertow
These are different implementations of the same HTTP protocol. They parse standard HTTP requests and create convenient Java objects that represent the requests. We won't go into detail about how that process works. Most Clojure developers pick a server without knowing many details about how it works.
We will use the Jetty web server. It comes standard with Ring, and it works for most purposes.
The Ring adapter converts the server's representation to a Ring request
Each server uses a different Java class to represent the request. The adapter's purpose is to convert the server's custom Java request class into a standardized Ring request. Once it has transformed the custom class into a standard Ring request, we are in the realm of Ring apps.
Each Java web server has a corresponding Ring adapter. The Jetty server has a Jetty adapter. The Undertow server has an Undertow adapter. Each Ring adapter is specialized to convert one server's custom class.
The adapter isolates your code from changes to the web server. For example, you could start developing your application using Jetty, but choose to switch to Netty later if you need to. In theory, you won't have to change any code in your application. Likewise, you could run Jetty to develop your code on your local machine but run Undertow in production. Again, the adapter should shield your code from the difference. After all, it doesn't deal with the custom Java request and response classes. Instead, it deals with standard Ring requests, which have the same format regardless of the server.
In practice, this works 99% of the time. However, I have encountered a few corner cases where you have to be careful. We will be switching the server out in our simple web app. We'll explore the differences at that time and learn how to avoid the problems.
The Ring request
Let's take a look at our HTTP request once it has been converted to a Ring request.
HTTP request
GET / HTTP/2
Host: ericnormand.me
User-Agent: curl/7.64.1
Accept: */*
Ring request
{:ssl-client-cert nil,
 :protocol "HTTP/2",
 :remote-addr "[0:0:0:0:0:0:0:1]",
 :headers {"accept" "*/*",
           "user-agent" "curl/7.64.1",
           "host" "ericnormand.me"},
 :server-port 3001,
 :content-length nil,
 :content-type nil,
 :character-encoding nil,
 :uri "/",
 :server-name "localhost",
 :query-string nil,
 :body #object[org.eclipse.jetty.server.HttpInputOverHTTP 0x4c653787 "HttpInputOverHTTP@4c653787[c=0,q=0,[0]=null,s=STREAM]"],
 :scheme :https,
 :request-method :get}
That's quite a lot bigger. But don't worry, we'll step through the important parts. Just note that everything from the original HTTP request is in there, plus a little more.
Request line
The request line had three parts, the method, the path, and the protocol. We can find these in the Ring request:
- The method is at the key
:request-method. In a Ring request, the method is converted to a lower-case keyword; in this case, it's:get. - The path is at the key
:uri. - The protocol is at the key
:protocol.
Headers
The headers have been parsed into a hash map and stored at the key :headers.
The names of the headers are lower-cased for you. The values are all strings.
Body
The body is at the key :body. The value is a java.io.InputStream. Because
the body can be very large or in a binary format, it has not been parsed for you
into a string. In this case, because the request has no body, the InputStream
will be empty. It is always present, even when it has no data.
There are some extra keys that you may want to use. For now, it's essential to know that everything in the HTTP request is present in the Ring request. No information is lost. The Ring request is simply a convenient format to represent the HTTP request in Clojure.
Also, if it looks like a lot of keys to remember, don't worry. When I first started, I thought there was a lot, too. However, over time I noticed that it wasn't as bad as it first appeared. For one, you are rarely dealing with all of the keys. I've never done anything with the SSL certificate, for instance. Second, in day-to-day work, you are accessing keys that are much more relevant to your domain. We'll see why that is the case later. And, finally, a handy reference for the Ring SPEC fits on a single piece of paper. I made one, printed it out, and hung it on the wall near my computer. If I ever needed to remember the name of a key, it was right there.
The Ring SPEC is an ASCII document that details the keys and value types of Ring requests and Ring responses.
The handler is a function from Ring request to Ring response
The end of the request's journey is the Ring handler. The handler is a Clojure function that takes a Ring request, does some work, and returns a Ring response. The handler does the work of our web application. There are no restrictions on what your handler can do. It can read from files, connect to the database, or even make HTTP requests of its own.
The response's journey back to the client
Once the handler returns a Ring response, the return journey is like the request's journey, only in reverse. The Ring response is converted to the server's response class. The server's response object is converted to an HTTP response, then sent back to the client as text.
Here's what the Ring response looks like. This one contains some HTML:
{:status 200
 :headers {"Content-Type" "text/html"}
 :body "<!DOCTYPE html><html><body>Hello</body></html>"}
This is a Clojure hash map that gets converted to an HTTP response like this:
HTTP/1.1 200 OK
Date: Thu, 18 Mar 2021 17:07:45 GMT
Content-Type: text/html
Content-Length: 46
Server: Jetty(9.4.36.v20210114)

<!DOCTYPE html><html><body>Hello</body></html>
The HTTP response has three parts, like the request:
- The response line
- The headers
- The body
The headers and body are in the same format as the request.
The response line is different. It shows the protocol, the status code, and a
status string. The status code and status string are standard numbers and string
representations of the status of the response. A 200 OK response means
everything is great, and you should expect the resource you requested in the
body. There are many status codes. We'll go over some of the important ones
later. For now, just note that you should set the status code in the Ring
response at the :status key.
The headers are set in the Ring response as a hash map. They are converted to
HTTP headers. You'll notice that only one header was set in the Ring response,
yet the HTTP response has more than one. This is normal. The server and adapter
added other relevant headers. We knew that we were returning HTML, so we added a
Content-Type header of text/html. The adapter figured out the size of the
body in bytes and added a Content-Length header. The server added the Date
and Server headers as well. Because the response can contain any number of
headers, each part of the journey back to the client can add new headers safely.
In fact, this is an essential part of the HTTP protocol and why it works so well. Any HTTP server can be proxied. That means another server (called the proxy) can be put in front of it. The proxy will forward requests it gets to the server. Then it will forward the response it gets back to the client. Along the way, it can modify the request and response, including adding, removing, and modifying headers or completely changing the body. When we write a server, we should keep in mind that the Ring request we handle may not precisely represent the HTTP request the client generates. There could be any number of proxies between the client and our code.
This may seem daunting, but in practice, it is not. We write our code to handle the request we get. We look at the parts relevant to our functionality and ignore what we don't care about. This makes for a robust server that can be proxied. In fact, this same proxying idea is the basis for middleware and interceptors, which we'll see in part 2.
Build your backend in Clojure!
Invest in yourself with my Clojure Web Backend Signature Course.
- 2 web backend modules
- 6 detailed lessons
- 1.9 hours of video