How to Use New Relic with Clojure on Heroku
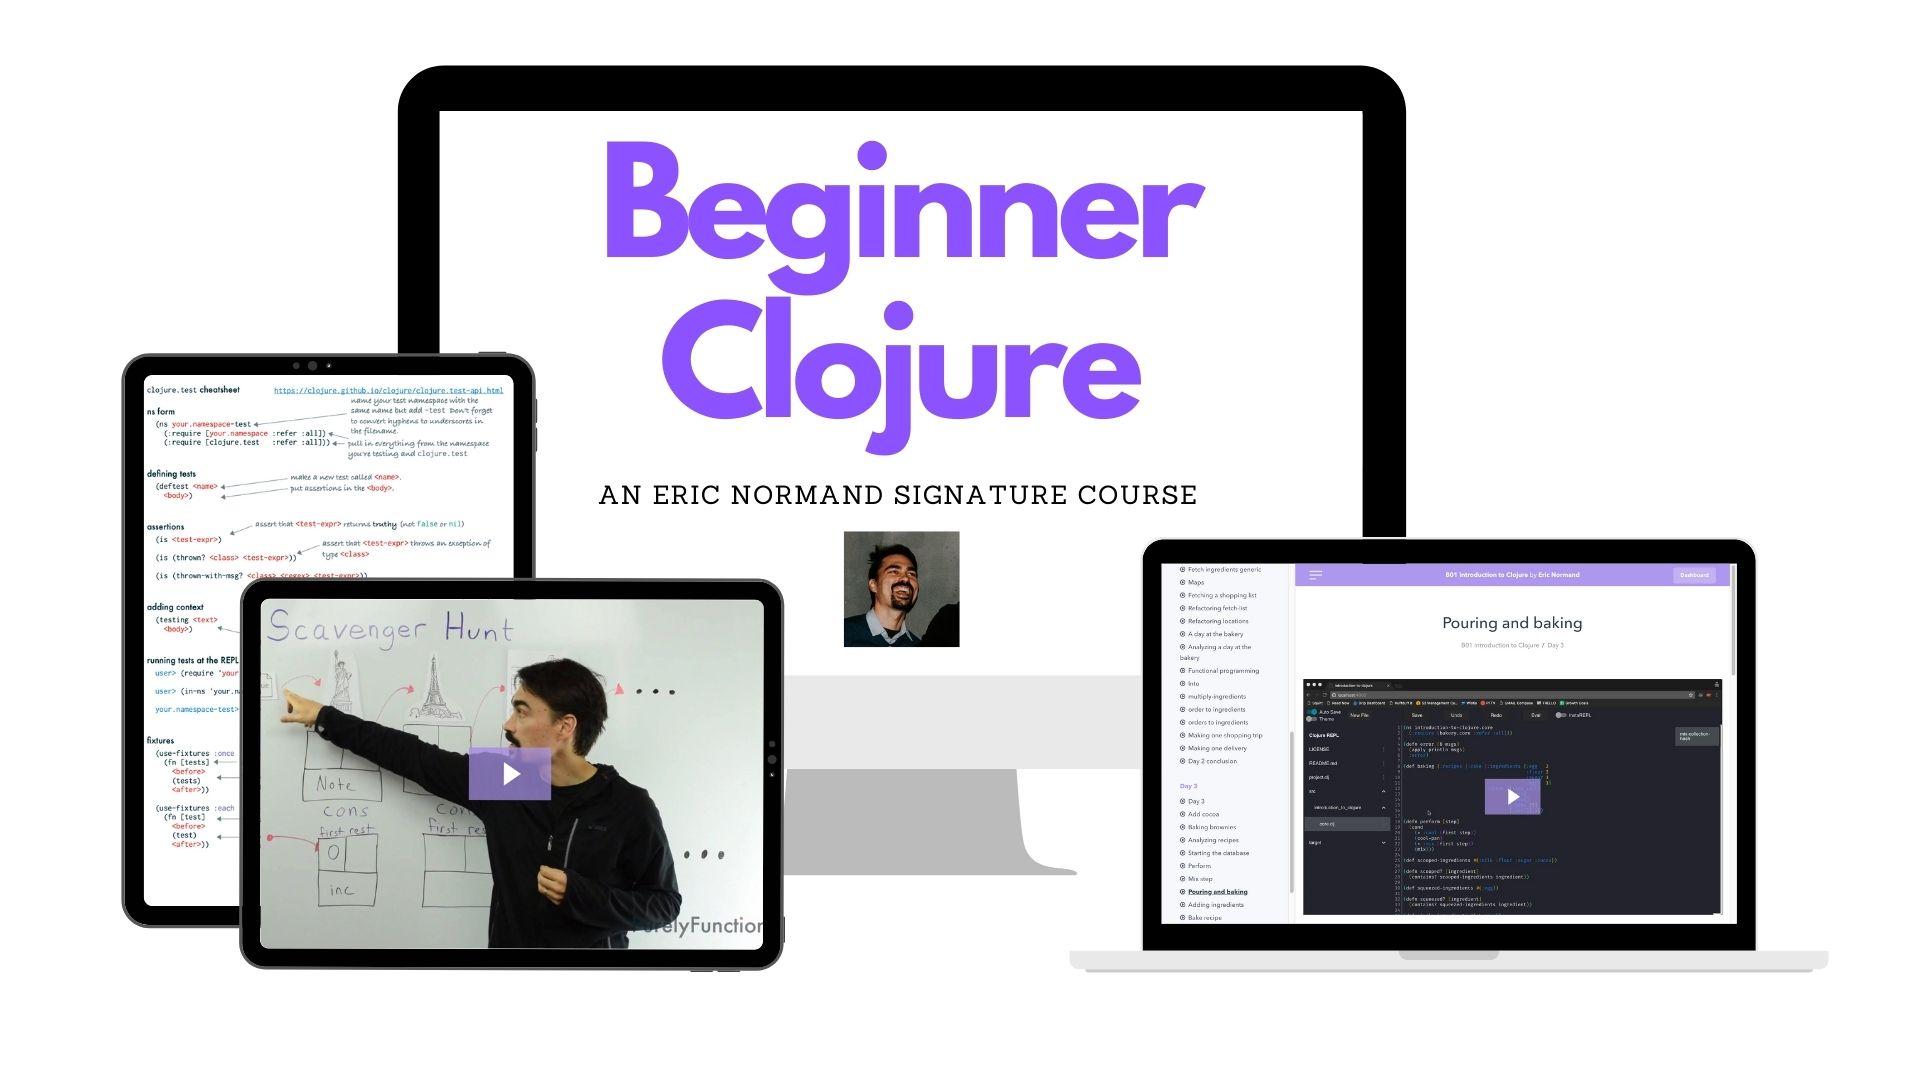
Want the best way to learn Clojure?
Invest in yourself with my Beginner Clojure Signature Course.
- 8 fundamental modules
- 240 fun lessons
- 42 hours of video
DEPRECATED
Heroku is a great service, especially for the lone developer who wants free hosting for an app.^1 The free hosting works just like the paid service except that your server will be "spun down", meaning that after five minutes of no activity, your server is stopped. It will be "spun up" again when there is a request. This spin up process can take a while and certainly does not give a good user experience.
Luckily there is a recommended way of avoiding this delay. The solution is to run New Relic monitoring, which periodically polls your server, avoiding the five minutes of no activity and hence keeping your server running.
In addition to keeping your server from falling asleep, it also gathers lots of profiling information that could help you understand your server as it runs in production. Luckily, both Heroku and New Relic offer free tiers. This brings us to my favorite financial formula:
Free + Free = Free
You can also use this process with the paid versions. Note also that Heroku itself recommends setting this up, so don't feel guilty!
Instructions
I am assuming you are already using Heroku and have a working app hosted there, using an uberjar deploy. You also have the Heroku Toolbelt installed.
1. Add the New Relic add-on to your app.
$ heroku addons:add newrelic:stark
I recommend the stark plan for free apps. You can choose any of the
New Relic tiers.
2. Find and download the latest New Relic Java API release.
This download page lists all of the versions. Find the latest one and download the ZIP file.
3. Unzip the ZIP file into the base of your app.
$ cd projects/my-app
$ unzip ~/Downloads/newrelic-java-3.2.0.zip
It should unzip into a newrelic/ directory.
4. Check your .gitignore file for *.jar
New Relic includes its own JAR file whic
h needs to be deployed with your
app in the git repo. My .gitignore included a line *.jar which would
exclude all JAR files. Remove this line if you see it.
5. Add the .gitignore and the newrelic/ directory to your repo.
$ git add .gitignore
$ git add newrelic
$ git commit -m "Add New Relic monitoring agent."
Make sure the file newrelic/newrelic.jar was added.
6. Release to Heroku.
$ git push heroku master
7. Configure your app to use New Relic.
We need to add a new JVM option. There is an environment variable called
JVM_OPTS which is typically used to do this. Find out what value it
has now.
$ heroku config
Find the line starting with JVM_OPTS:. Mine says "-Xmx400m". Now we
add this to the variable: "-javaagent:newrelic/newrelic.jar".
$ heroku config:set JVM_OPTS="-Xmx400m -javaagent:newrelic/newrelic.jar"
The app should restart with the new options. Visit your Heroku dashboard, find your app, and click on the New Relic addon to see the New Relic Dashboard for your app. The first load might take some time, but subsequent loads will be at full speed and it won't spin down. load!
References:
- We use (and pay for) Heroku at work and we like the paid service, too!
Want the best way to learn Clojure?
Invest in yourself with my Beginner Clojure Signature Course.
- 8 fundamental modules
- 240 fun lessons
- 42 hours of video